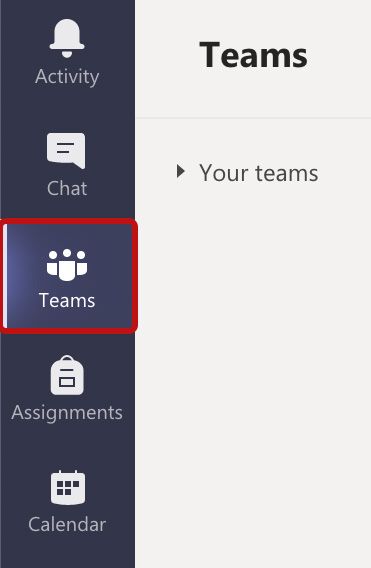
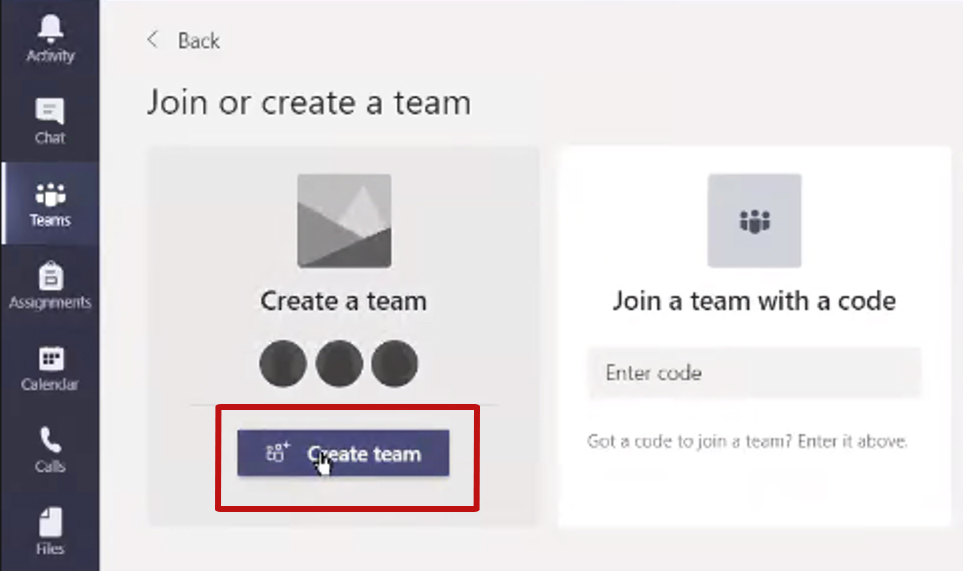
- After starting MS Teams, we choose Teams from the navigation bar.
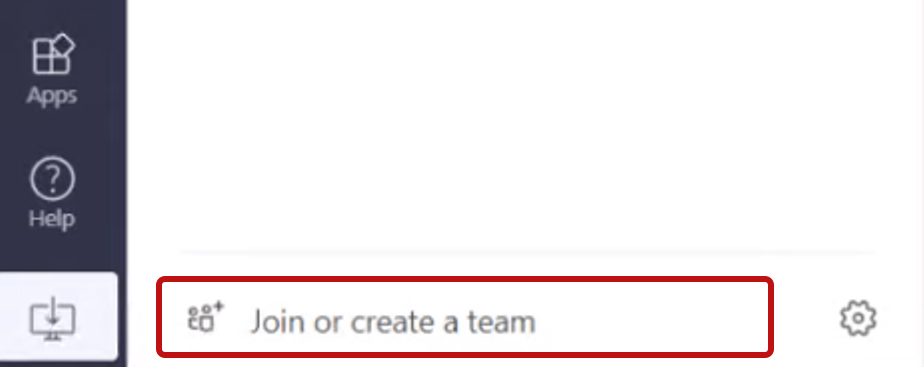
- Then, depending on the selected view option of Teams, we choose Join team or create a team button in either the top right or lower left corner of the application.

To change the view, use the Switch view button hidden under the gear icon, that is, the settings. It is located next to the join team button.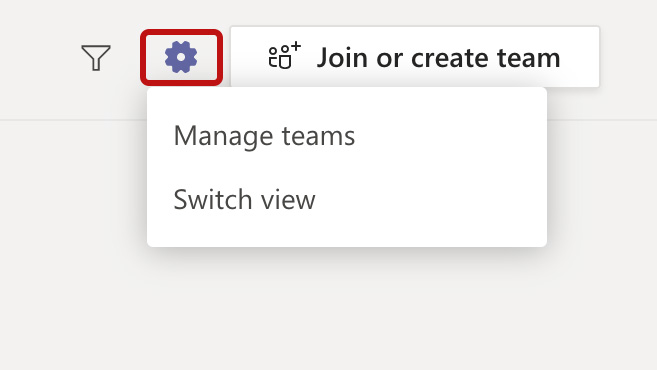
- Then we select a Create team tile. It will not appear in the employee tenant or old account of the student tenant, because we don’t have such permissions there.
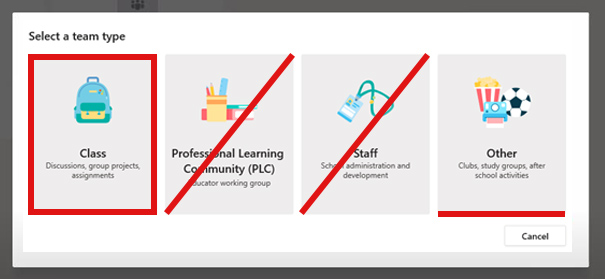
- The next step is to choose the right type of team. We will use a team with a Class activity book type to work with students. This is the first tile in the list of four to choose from. We will still use the most basic type of team sometimes, when we don’t need activity notebook, it will be the last tile Other.
- We select the team type and we move on to the entering the name.

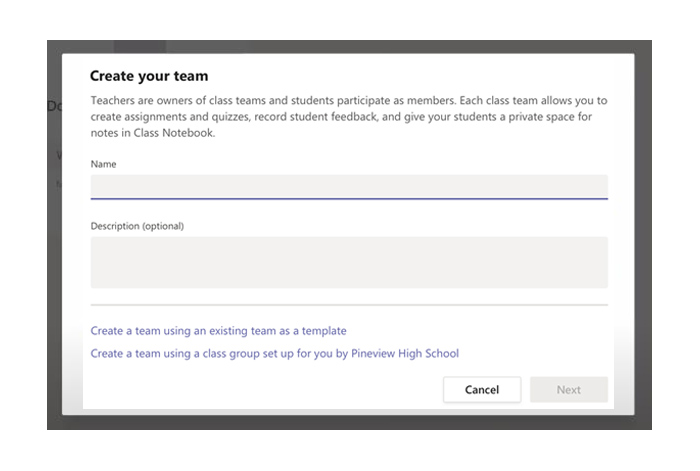
It is an important moment, because now based on this name, a path to all files and team resources will be created. Despite a later change of this name, only what is displayed will change and links will match the original name.
How to create team names with the necessary codes is described in detail in the document How to create Team names in Teams. Teams with names not matching the pattern can be blocked or delated.
Please provide justification of deviation from the recommended naming convention in the team description.
An example of a correctly created team name in Teams:
WB-BIO-L3DZ-(2020/2021) Own description name
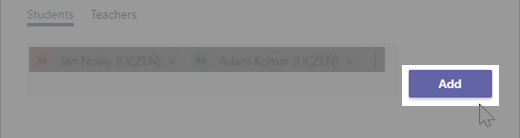
- We add students to the team and, if we wish so, additional team owners such as teachers. We ourselves are automatically appointed Owner/teacher at the time of the formation of the team.
The situation is a little different if a team was created for us by the administrator. Then, before assigning the student, we have to activate such a team. This is mentioned in the beginning of this movie.
We can add students to the team later through team management options in three different ways. See the graphics and the recording below.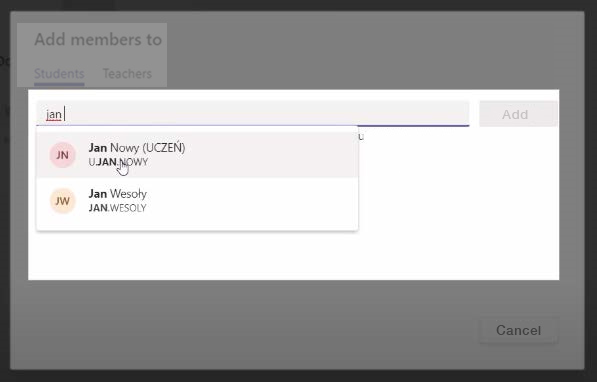
Recording: https://youtu.be/c9a4mbK0Tp4
After selecting the members/students, click on Add and if necessary, select the Teachers tab to add next team owners.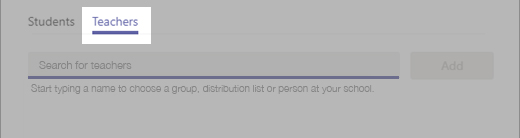
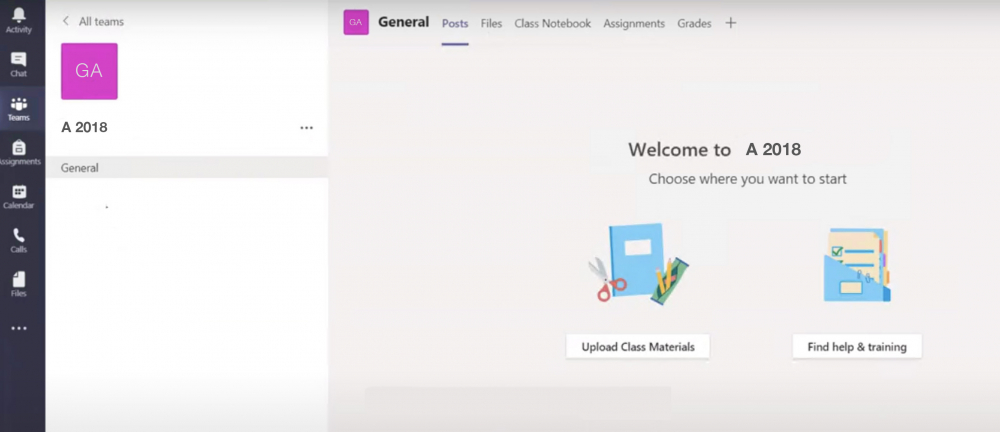
- Our team is ready, we can now deal with the detailed configuration to specific activities.
MS Teams – teams/classes
Additional footage of Microsoft employee in Polish language:
- How to create team/class (name, type, adding students and teachers)?
- What is the main channel and what special properties does it have?
- How to manage a team, configurate and add channels?
- What is the difference between public and private or general channels?
- What are the tabs in teams and how to add new ones?
- How to configurate file access and restrictions in Files (reading, editing)?


